Tuesday 19 April 2016
Test programing
/*
Blink
Turns on an LED on for one second, then off for one second, repeatedly.
This example code is in the public domain.
*/
// Pin 3 has an LED connected on most Arduino boards.
// give it a name: TEST 1
int led = 3;
// the setup routine runs once when you press reset:
void setup() {
// initialize the digital pin as an output.
pinMode(led, OUTPUT);
}
// the loop routine runs over and over again forever:
void loop() {
digitalWrite(led, HIGH); // turn the LED on (HIGH is the voltage level)
delay(1000); // wait for a second
digitalWrite(led, LOW); // turn the LED off by making the voltage LOW
delay(1000); // wait for a second
}
/* **********************************************************
TEST 2
***********************************************************
/*
Fade
This example shows how to fade an LED on pin 3
using the analogWrite() function.
This example code is in the public domain.
*/
int led = 3; // the pin that the LED is attached to
int brightness = 0; // how bright the LED is
int fadeAmount = 5; // how many points to fade the LED by
// the setup routine runs once when you press reset:
void setup() {
// declare pin 3 to be an output:
pinMode(led, OUTPUT);
}
// the loop routine runs over and over again forever:
void loop() {
// set the brightness of pin 3:
analogWrite(led, brightness);
// change the brightness for next time through the loop:
brightness = brightness + fadeAmount;
// reverse the direction of the fading at the ends of the fade:
if (brightness == 0 || brightness == 255) {
fadeAmount = -fadeAmount ;
}
// wait for 30 milliseconds to see the dimming effect
delay(30);
}
/* **********************************************************
TEST 3
***********************************************************
/*
14core LED Chase Effect with 14Core Stater Kit
*/
byte ledPin[] = {3, 5, 6, 9, 10}; // Define the pins on arduino
int ledDelay(10); // delay changes
int leddirection = 1;
int ledcurrentLED = 0;
int ledcount=5;
unsigned long changeTime;
void setup() {
for (int x=0; x<ledcount; x++) {
pinMode(ledPin[x], OUTPUT);
} // set all pins to output
changeTime = millis();
}
void loop() {
if ((millis() - changeTime) > ledDelay) { // if it has been ledDelay ms since last change
changeLED();
changeTime = millis();
}
}
// Increment Function to turn off all LED
void changeLED() {
for (int x=0; x<ledcount; x++) { // Increment x++
digitalWrite(ledPin[x], LOW);
}
// OLD: digitalWrite(ledPin[ledcurrentLED], HIGH); // Turning on the current LED
fadeon (ledPin[ledcurrentLED]);
ledcurrentLED += leddirection; // increment the direction by value
// changing the direction if we reach the last LED
if (ledcurrentLED == ledcount-1) {leddirection = -1;}
if (ledcurrentLED == 0) {leddirection = 1;}
}
// add on
void fadeon(int led) {
int brightness = 0; // how bright the LED is
int fadeAmount = 5; // how many points to fade the LED by
while (brightness < 255){
// set the brightness of pin 9:
analogWrite(led, brightness);
// change the brightness for next time through the loop:
brightness = brightness + fadeAmount;
// reverse the direction of the fading at the ends of the fade:
if (brightness == 0 || brightness == 255) {
fadeAmount = -fadeAmount ;
}
// wait for 30 milliseconds to see the dimming effect
delay(15);
}
}
Tuesday 19 January 2016
New year, new surprises, new.......
Despite late, it still is January so brief thoughts of what has been happening:
2015 was a GREAT and busy year.
Liisa and I had been so busy that it was hard to cope with this blog and finalize many projects we want to do. We are lucky because we have a lot to do, but we need to learn to balance all. However we must acknowledge a HUGE and outstanding improvement from 2014. Now, we gather constantly and other people is joining us. That is a HUGE improvement.:)
Other things important in 2015 are:
- we meet Kirsi, she is a gem and we enjoy working with her!
- this year taught us the importance of our club for our community. We were contacted by different people, despite we are still working with the creation of F4E community. However, this 2015 also gave us clearer information of what several people need to put hands on.
And 2016, will be a year full of surprises. We are making things happen and we go step by step. :)
The following photo is special for me of what 2016 will bring, as having a lovely 7 year old playing with it.
One step at the time!

===
F4E written by Carolina Islas (CAIS)
Monday 12 October 2015
In the media
Today we are happy to say that our Teacher training workshop with UEF was published at the LUMA website
Thank you Kirsi and Liisa for the wonderful article!
 |
| Photo source on this link |
===
F4E written by Carolina Islas (CAIS)
Sunday 20 September 2015
Teacher Trainning presentation at UEF
On Monday 14.09 we had the opportunity to give a presentation of our work and visions to teachers of North Karelia. This teachers training session was organized by LUMA center, from UEF.
The event was GREAT !!!!
The teachers were amazing, they did incredible work in short period of time and we got valuable feedback and ideas.
Unfortunately, I do not have a picture of the three of us:
There are some photos of us with the participant teachers. But I did not ask the teachers permission to make those photos public. Thus, I cannot publish those photos in this blog. However I can share some of the moments, our presentation, and overall the final results that are GREAT!
Set up
The workshop took place in one laboratory of the University of Eastern Finland. One table had our showcase and the material for the workshop. On the side of the "show case" we display some of our on-going projects: the lamp, the mittens and cards. Even Kirsi shared a creative light-bag :)
On the other side of the table was the material for the teachers when the moment of hands-on arise. .

Presentation
Liisa took a picture of me when I was presenting. Love the lab atmosphere, technology on one side AND on the other side coffee, soda, water and cookies. What else it is needed? :)
We had it all, tools, food and good company with TONS of ideas and knowledge :)

Here goes the presentation:
Hands on
Honestly a workshop means hands on. At least ALL my workshops are like that.
Here some of the outcomes of our AWESOME teachers:


This wonderful boat used several technologies, can you detect which ones? :

Other card seen from both sides:


The event was GREAT !!!!
The teachers were amazing, they did incredible work in short period of time and we got valuable feedback and ideas.
Unfortunately, I do not have a picture of the three of us:
- Liisa - who has great presenting our club and ideas,
- Kirsi - who organize the whole event and she is a great in handicrafts and our best cheederleader for F4E
- Carolina - who is writing this :)
There are some photos of us with the participant teachers. But I did not ask the teachers permission to make those photos public. Thus, I cannot publish those photos in this blog. However I can share some of the moments, our presentation, and overall the final results that are GREAT!
Set up
The workshop took place in one laboratory of the University of Eastern Finland. One table had our showcase and the material for the workshop. On the side of the "show case" we display some of our on-going projects: the lamp, the mittens and cards. Even Kirsi shared a creative light-bag :)
On the other side of the table was the material for the teachers when the moment of hands-on arise. .

Liisa took a picture of me when I was presenting. Love the lab atmosphere, technology on one side AND on the other side coffee, soda, water and cookies. What else it is needed? :)
We had it all, tools, food and good company with TONS of ideas and knowledge :)

Here goes the presentation:
Hands on
Honestly a workshop means hands on. At least ALL my workshops are like that.
Here some of the outcomes of our AWESOME teachers:


This wonderful boat used several technologies, can you detect which ones? :

Other card seen from both sides:


Great time, wonderful feedback and now to continue the journey of F4E
===
F4E written by Carolina Islas (CAIS)
F4E written by Carolina Islas (CAIS)
Saturday 19 September 2015
Lamp with a Capacitive Proximity Sensor : Step 1 the physical design
I had been running this project in my "free" time starting this June 2015. Today is the first day I make time to report it.
Why a lamp?

 Step 2: Handicraft deign (visuals)
For this lamp, I want the name of my niece in big. To save conductive paint, I decided that her name is the area painted with conductive paint. The rest of the area is the phosphorescent paint.
First I wrote the name outside the jar with the masking tape to serve as a guide. Follow, I paint the letters inside the glass follow the conductive paint.
 It is important to notice that all the letters are connected between each other. Meaning, all the black area is one complete piece of conductive paint.

Afterwards the conductive paint was dry, I paint the rest with phosphorescent paint.


Why a lamp?
Since long, I want to do something special for my
niece. She is 7 years old, and at the moment she still prefers to fall to sleep with some light. Hence, I decide to make her a special lamp for her.
The first stop is the idea. What do I want?
My idea is to let her turn the lamp with just approaching her hand to it. Also, I want the lamp to be personalized with her name. So, with these wishes in my mind, I created the following concept:

It is simple:
a) I want the lamp to turn on once a hand approaches the surface.
To achieve this I will utilize conductive ink and the lilipad (adrudino) to turn the light on.
b) I want the lamp made of glass. Additionally, I want that after the lamp is off again, it keeps illuminated. For this effect I decided to use phosphorescent paint. Therefore, after the lamp is used, it should keep light for some time.
Thus in this project I combine different technologies:
- conductive ink
- phosphorescent paint and
- lilypads.
I will explain each step by posts. But now in this this post I will explain the physical design.
Step 1: Materials
- 1 jar or glass. This will be the lamp perse.
- phosphorescent pain
- pincel to apply all (no picture)
- conductive pain
- masking tape (no picture)

For this lamp, I want the name of my niece in big. To save conductive paint, I decided that her name is the area painted with conductive paint. The rest of the area is the phosphorescent paint.
First I wrote the name outside the jar with the masking tape to serve as a guide. Follow, I paint the letters inside the glass follow the conductive paint.


Mmmmmm, I am not the best painter, and the photo shows it even worse. The phosphorescent paint is not THAT easy, but this is my first try.
At the end it looks like this:

Next post about the circuit! :)
===
F4E written by Carolina Islas (CAIS)
F4E written by Carolina Islas (CAIS)
Sunday 10 May 2015
Official gatherings starting Autumn 2015
We are happy to announce that we will start gathering at the Perhentalo. Last week we start the conversation with them and apparently, it would be possible :)
At the moment we are in negotiations of the days and room. The actual proposal is:
Room "Tupa" , on Mondays from 5:30 PM to 7:30 PM
On the following days:
31.8.
14.9.
28.9.
SYYS LOMA
19.10.
02.11.
16.11.
30.11.
14.12.
If we have the days fixed, the next step is to start to prepare ourselves for those days. So, more information SOON! .....
===
F4E written by CAIS
Thursday 23 April 2015
SciFest 2015
In this occasion we were not able to have our boot in SciFest. However we had been following closely what it is happening. Inclusive we had an interesting experience yesterday while being participants of the nexmap workshop facilitated by Paul Kallmes. In this workshop we discovered the conductive tape and stickers!
Our tool set is increasing, now we have:
However, our main power is our imagination!!!! :)
This is going to be a VERY SPECIAL year for fear4electronics!!!!
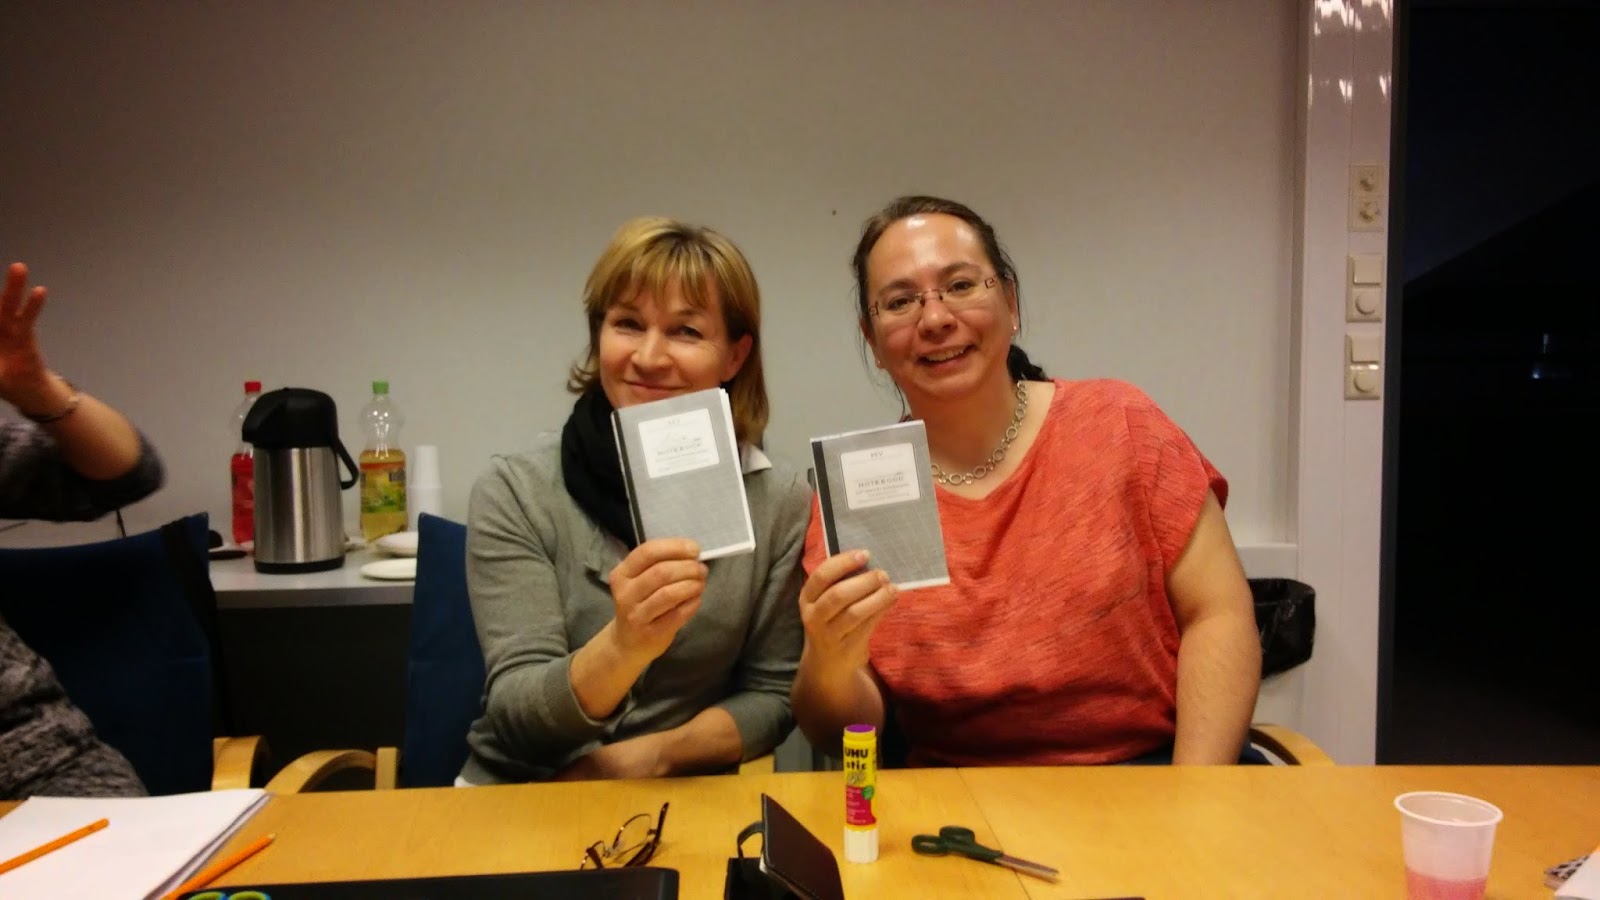
Now some photos of us exploring. In the first photo we are working and experimenting with new tools.
 NOTICE our first "product" the enlighting swam is on the top right corner!!! :)
Next photo is Liisa and I, with our final product.
I think soon, we should make a comparison table of pros and cons of the different tools available in the market which can help us to add digital technology to our handicrafts!
===
F4E written by CAIS
Our tool set is increasing, now we have:
- conductive ink,
- conductive stickers,
- conductive clothing....
However, our main power is our imagination!!!! :)
This is going to be a VERY SPECIAL year for fear4electronics!!!!
Now some photos of us exploring. In the first photo we are working and experimenting with new tools.
Next photo is Liisa and I, with our final product.
I think soon, we should make a comparison table of pros and cons of the different tools available in the market which can help us to add digital technology to our handicrafts!
===
F4E written by CAIS
Subscribe to:
Posts (Atom)